
Yesterday I got the urge for a tasty late night snack, and sour cream with honey sounded delicious. But when I went to the fridge, I discovered to my dismay that we are nearly out! (screams of horror in the distance)
Well that just will not do around here. So today I’m making more sour cream.
Why Homemade?
You might be wondering why I would go to the trouble of making my own sour cream instead of just buying a big tub at the store. If you’ll recall, I mentioned in our January newsletter that our family is starting the GAPS diet, in order to deal with some chronic health issues that we think might be related to our gut health (I’ll write more on that here another time).
Part of the GAPS protocol is a heavy emphasis on populating the gut with plenty of beneficial bacteria, while starving the opportunistic organisms that may be overgrown in your digestive system. Fermentation is a process that encourages the growth of probiotics, which then eat up all the sugars in the food that your gut microorganisms would otherwise feed on.
Many people find that fermentation also relieves symptoms of indigestion, particularly when it comes to dairy.
When you properly ferment dairy for 24 hours, much of the lactose is pre-consumed out of it. This leaves less sugar for the opportunistic troublemakers in your tummy to snack on. And as a bonus, the good bacteria introduced to your gut tend to help kill off the bad bacteria, so it’s a win-win!
However, most store-bought dairy is not fermented long enough to reduce the lactose to the point the GAPS diet is looking for, leaving too many sugars in the final product. That why people on the GAPS diet are supposed to ferment their own dairy products for at least 24 hours before consumption.
So now that that’s explained, let me show you how I make my own properly fermented sour cream!
How to Make GAPS Sour Cream
Things you’ll need:
- Cream/heavy cream
- The best cream to use is fresh raw cream. Second best is VAT pasteurized. If you can’t find either of those, choose the best quality cream that your budget can afford (organic, grass-fed, etc).
- Make sure it’s pure cream with no added thickeners! Always check the ingredients list, even if it looks safe on the front label.
- Starter – yogurt cultures or store-bought yogurt
- If using store-bought yogurt as your starter, make sure that it’s a good quality plain yogurt (no sugar or flavor added) with live active cultures (Nancy’s Organic Whole Milk Yogurt is good for this). Use 1/4 cup yogurt for every 2 pints of cream.
- A pot
- A ladle
- A whisk (a fork will work in a pinch)
- I like to use a spring whisk like this one
- A digital thermometer
- or an analog one that reads down to 100 degrees
- A sink with ice or very cold water
- An oven or dehydrator big enough to hold your pot
- I’ve also used a highly insulated thermos – the important thing is that you can keep your cream at the right temperature for 24 hrs.
Step 1: Heat your cream
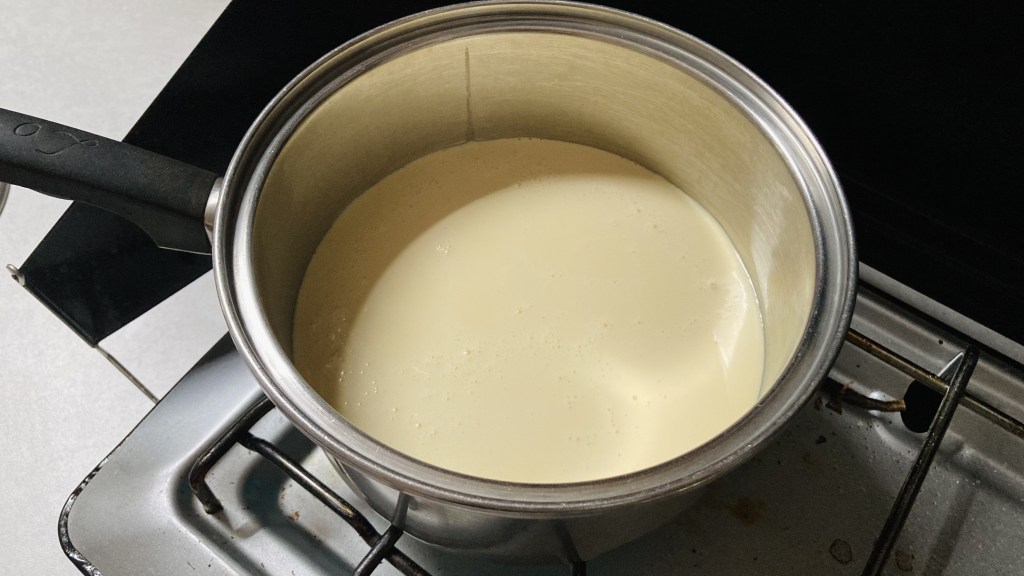
Heat your cream in a pot over medium heat until it is almost boiling, but not quite. Stir often. Be careful not to burn your cream!
Step 2: Cool your cream
Once your cream reaches temperature, immediately place your pot in an ice bath to start cooling. Keep the lid on except to check the temperature. You want your cream to reach between 105-115 F.
Step 3: Add your starter
Once your cream has cooled, ladle out a bit into a bowl and whisk in the starter until smooth. Add the mixture back into your pot and put the lid back on.
- Be sure to wait until your cream is the right temperature before adding your starter! Probiotics are heat sensitive, and putting them in cream that is too hot will kill them.
Step 4: Ferment
Now there’s a couple different ways you can go about this, and I’ll share the three that have worked for me.
- 1) Place your pot in an oven with the light on. This seems to be just enough heat to keep things warm.
- 2) Place your pot in a dehydrator set to 110 F. We have this Cosori dehydrator (LOVE it!!) and I just remove all the racks and set my pot in the bottom. Set the timer for 24 hours and rest assured it stays at temp the whole time!
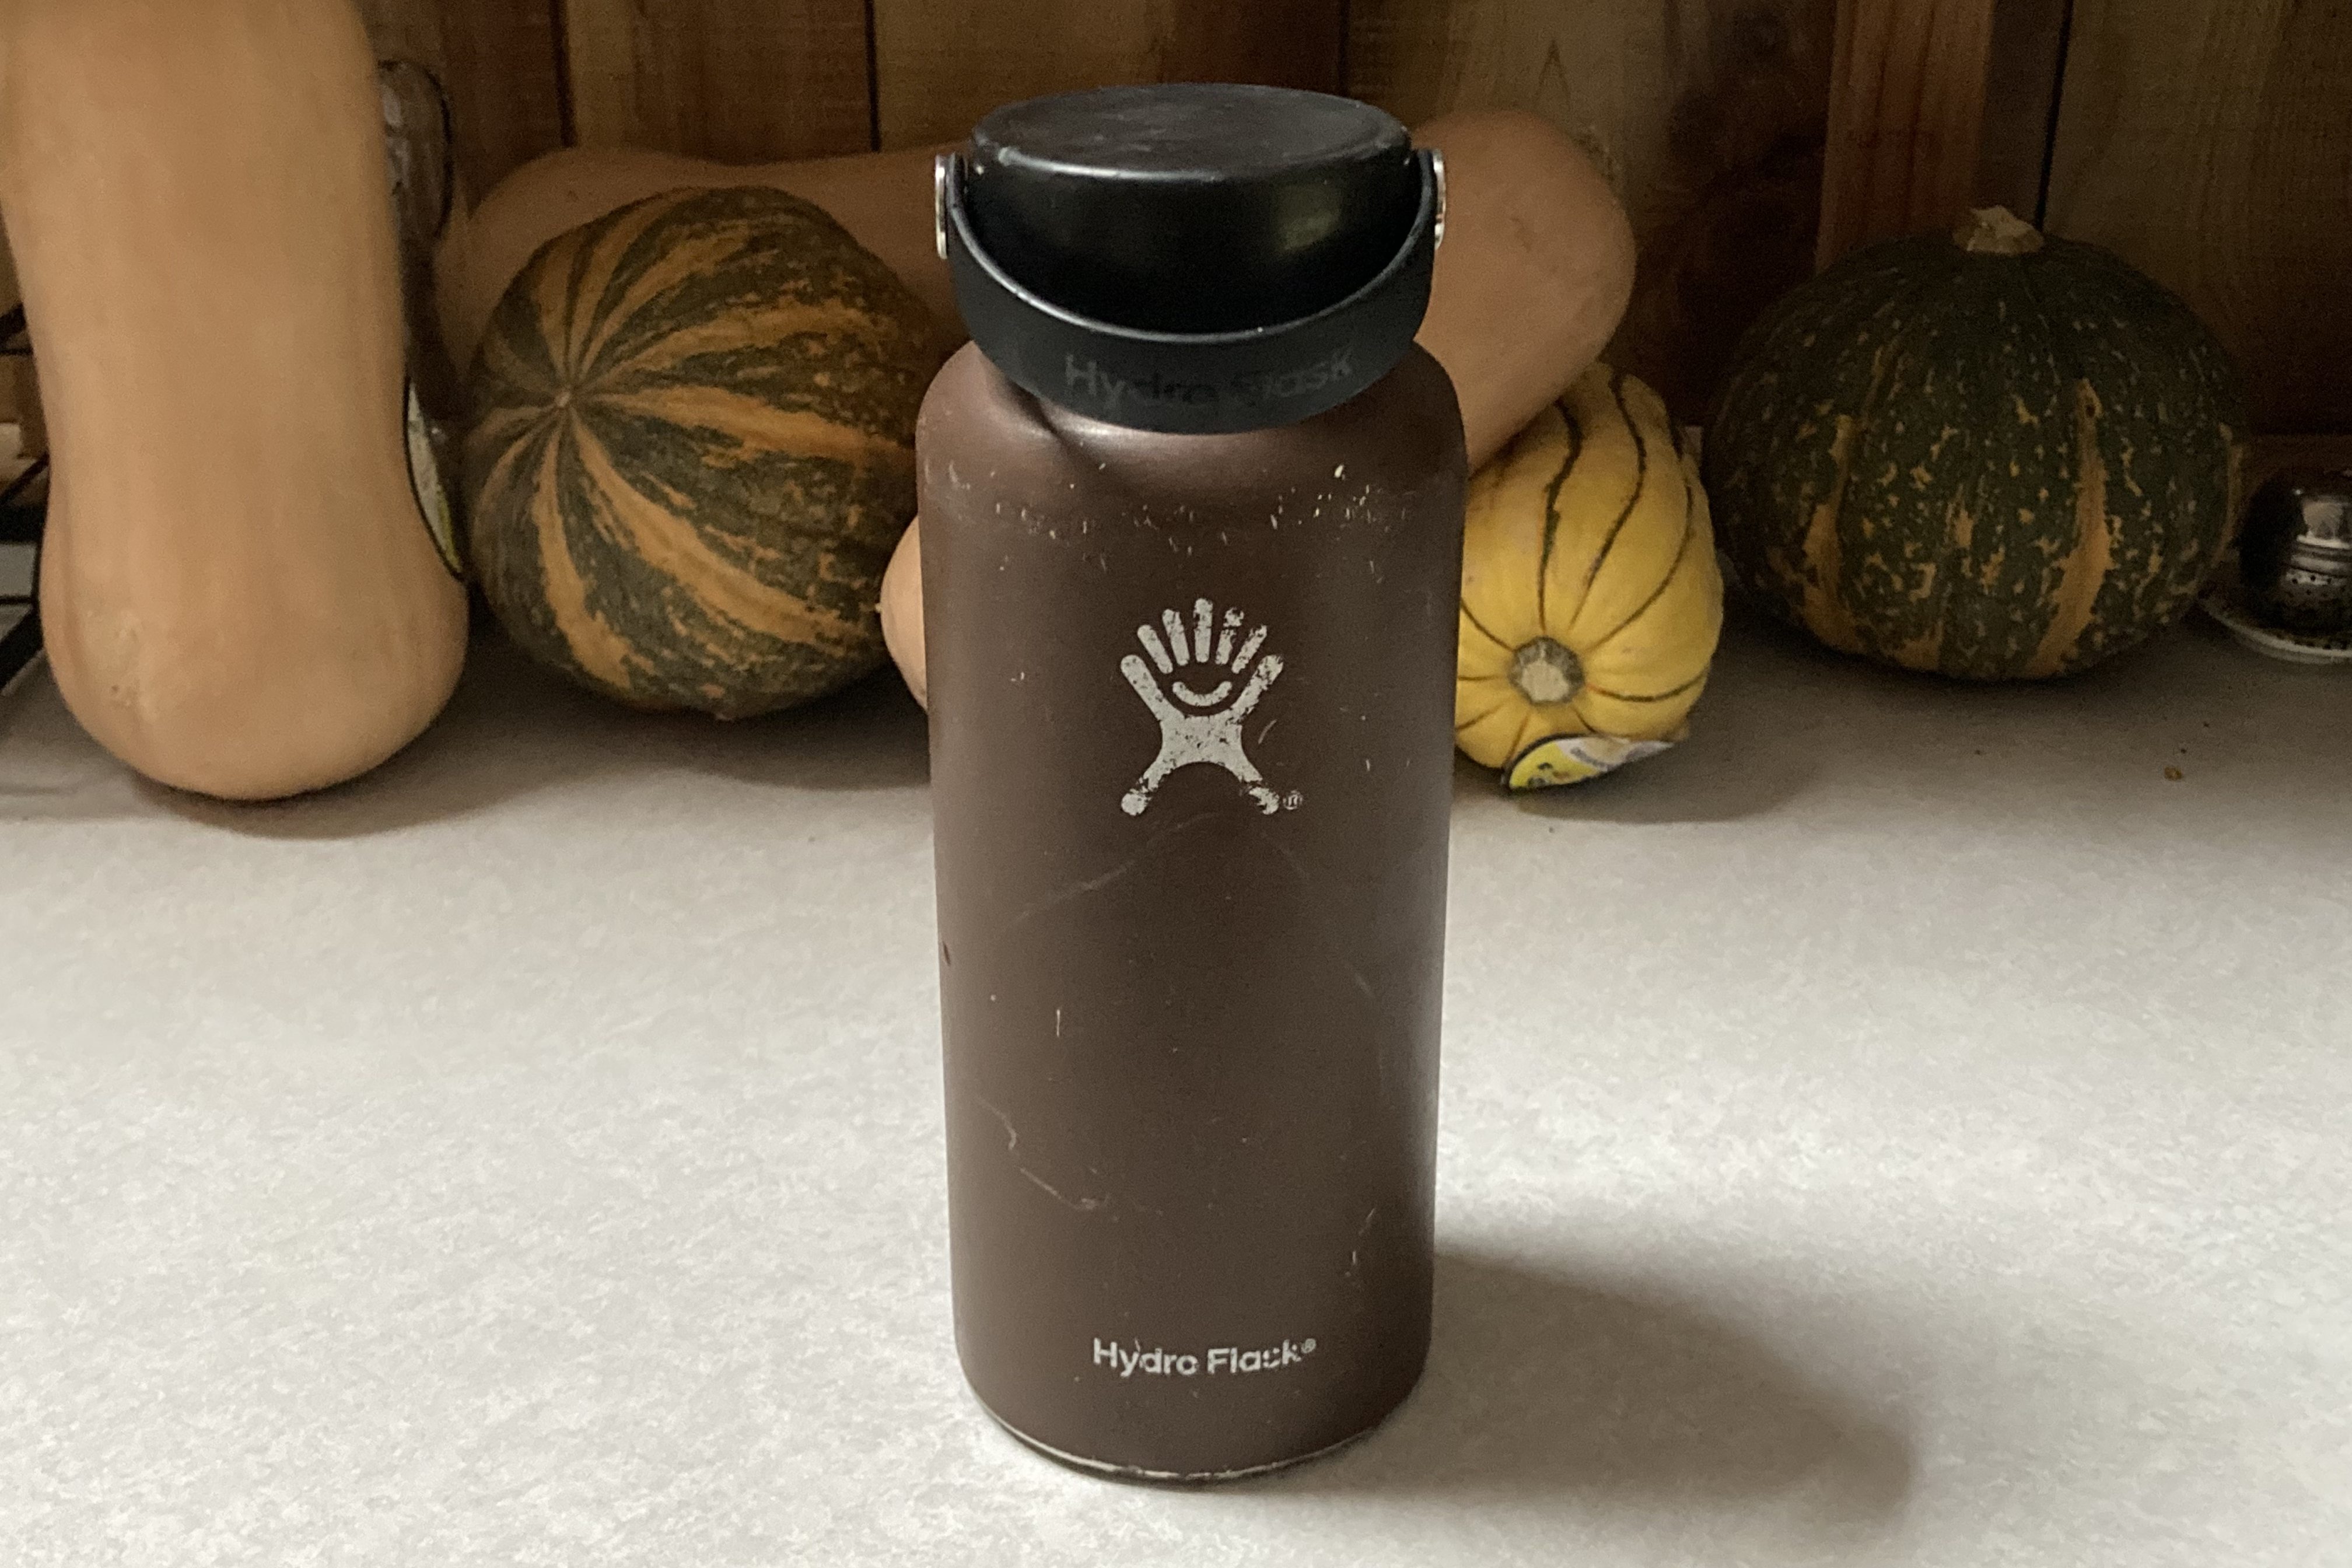
- 3) Pour your cream into a heavy duty thermos that you’ve pre-heated with boiling water (obviously don’t forget to pour the water our first!) and put the lid on tight. I’ve had good success with this method as well, your batch size is just limited by the size of your thermos.
I tried just keeping my pot by the wood stove once, but I think it got too hot and then too cold, or something didn’t go right… either way it looked funny when it was done and gave Mom bad food poisoning.
So yeah, I tend to be extra cautious about keeping things at the right temp.
Step 5: Refrigerate
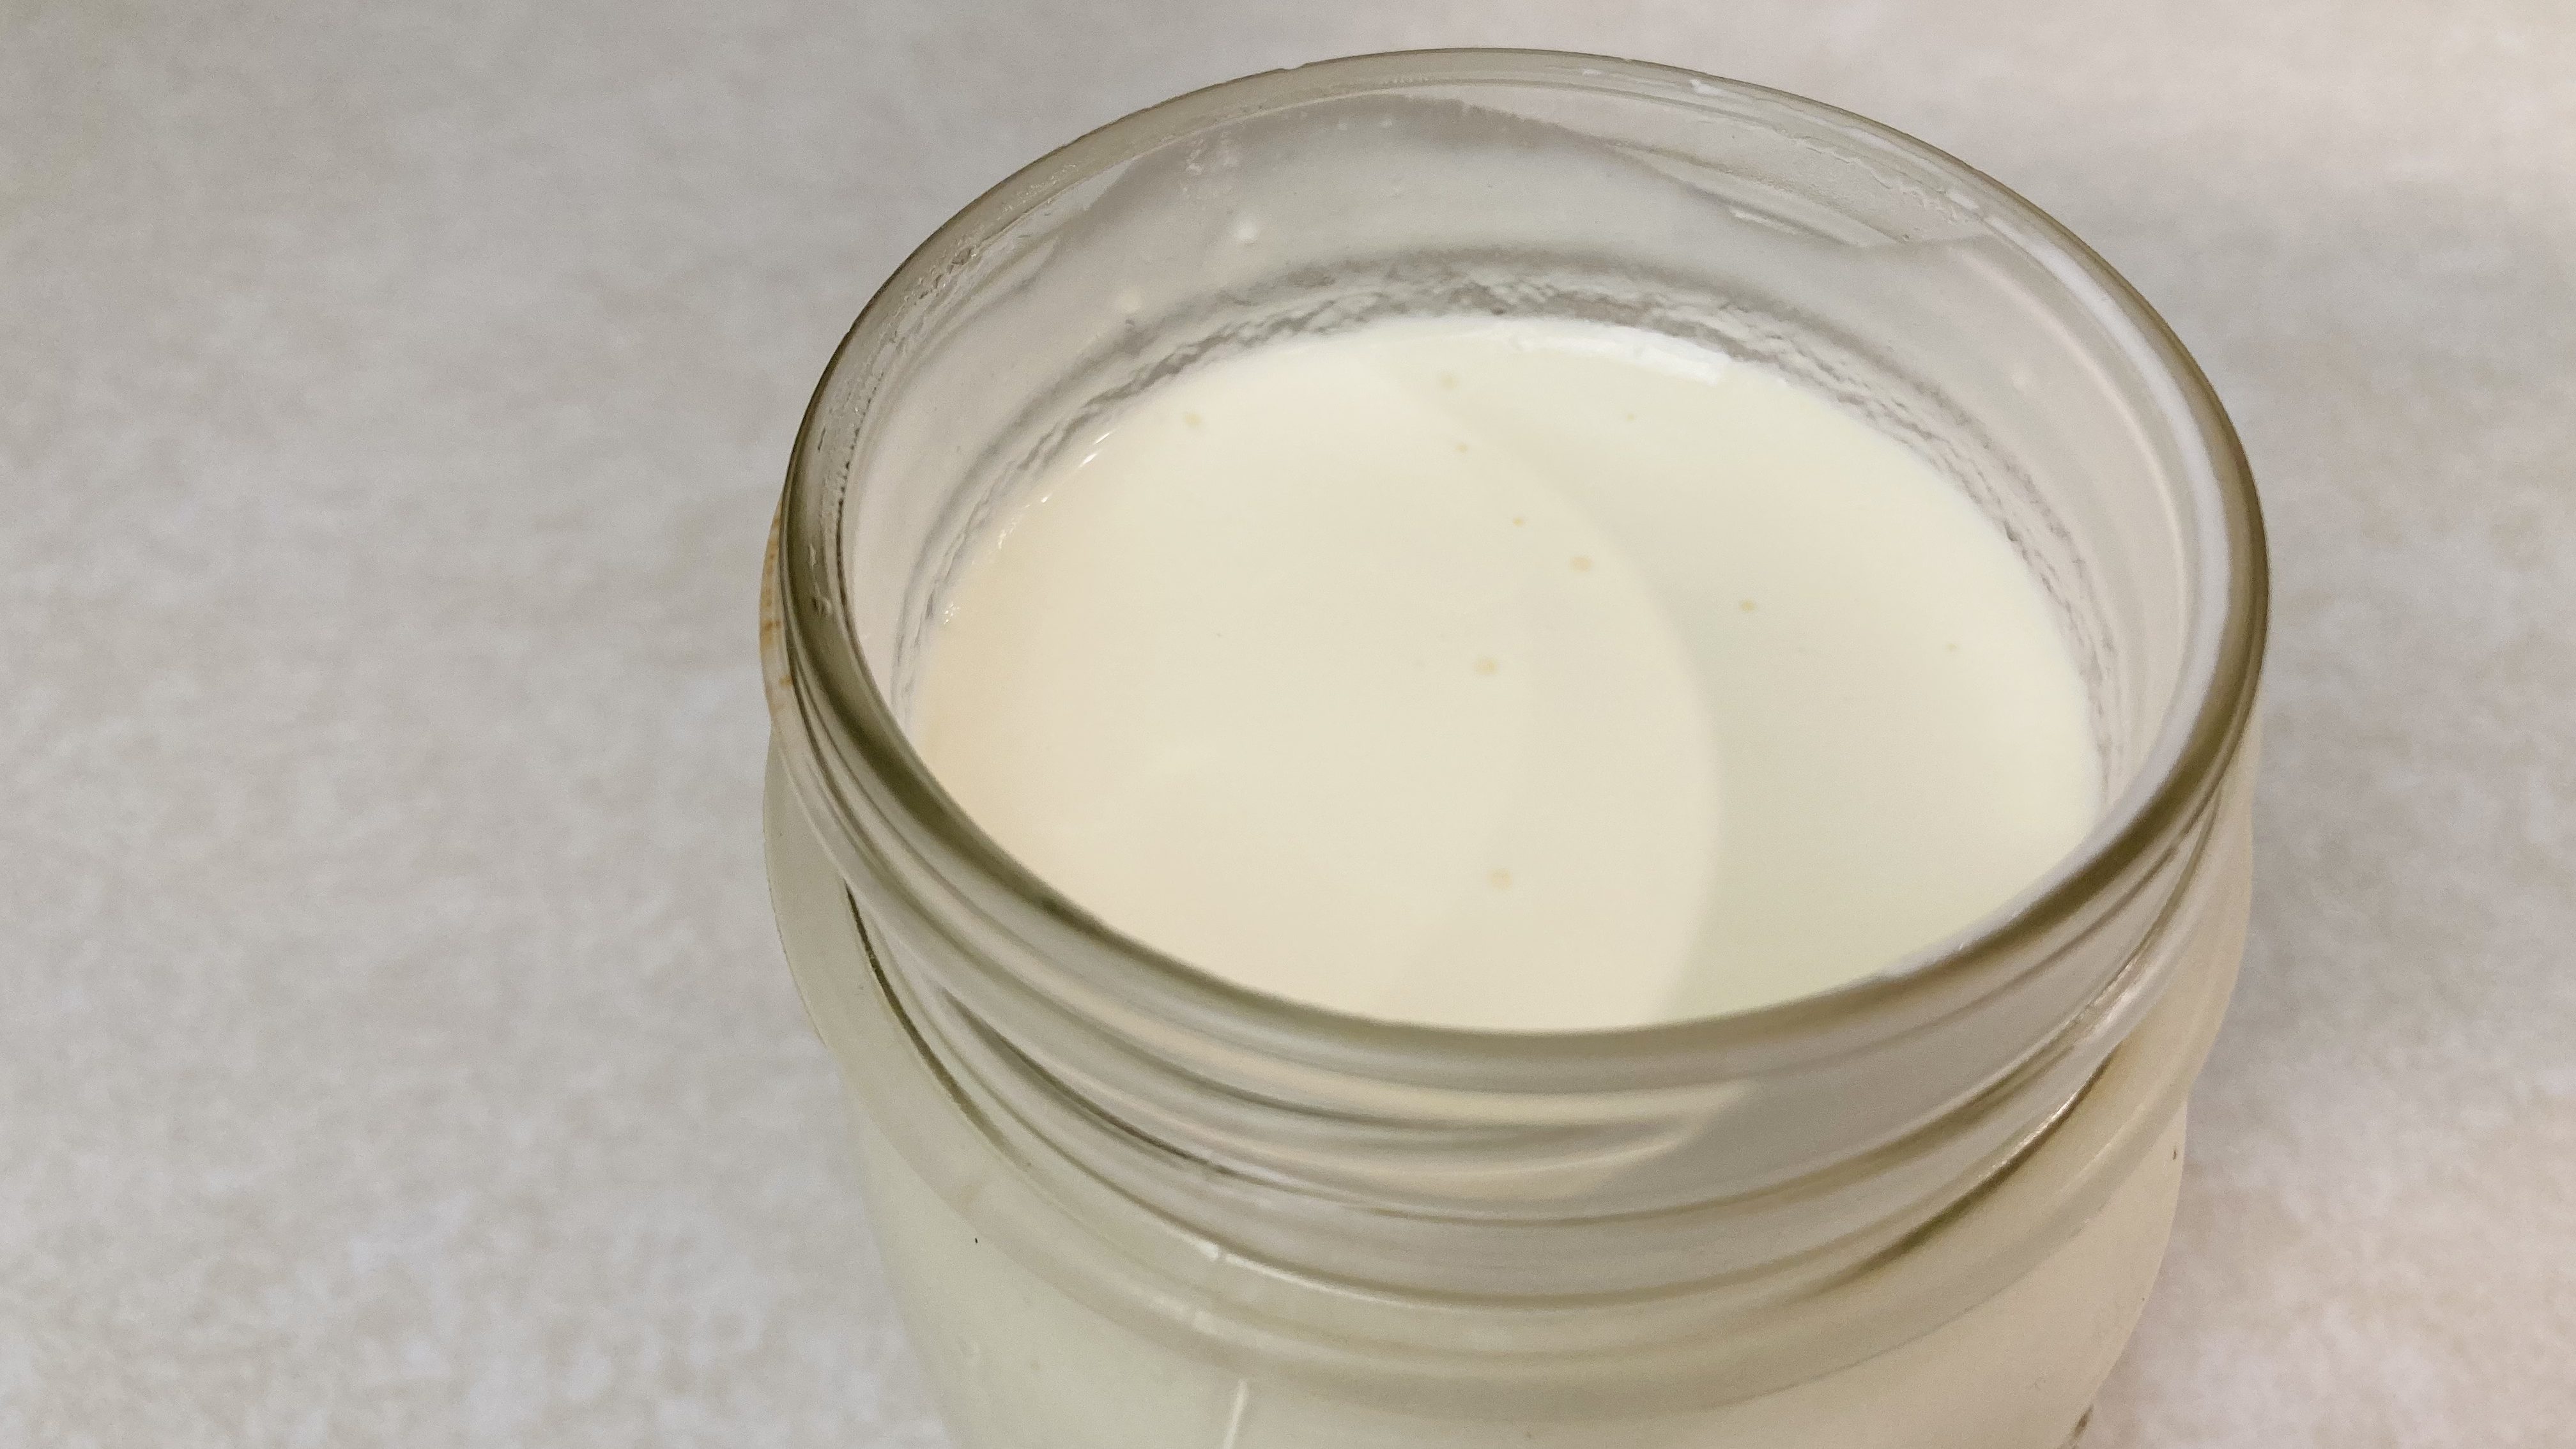
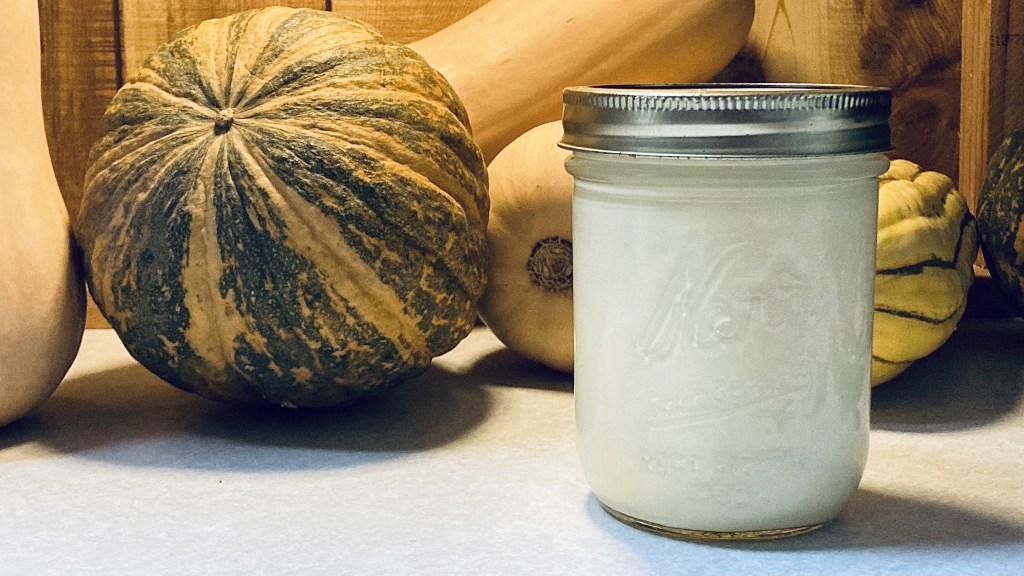
After the 24 hours is up, your cream should be nice and thick and slightly tangy. Ladle it into jars and refrigerate. It should get even thicker once it’s cooled.
I like to write the date on top, but I’ve honestly never had homemade sour cream stick around long enough to go bad!
In theory, you could also ladle your cream into warm jars with lids at the fermentation step if you’re using the oven or dehydrator method. But I haven’t tried that myself, so I take no responsibility if it doesn’t work right. Lol
A Side Note On Yogurt Making
Now that you know how to make sour cream, you also know how to make homemade yogurt! Just start with milk instead of cream, all the other steps are the same. Using whole milk will result in a creamier yogurt than skim milk, but both work. Again, raw milk is the best, or try to find the best quality you can in the store for optimum nutrition.
If you want a thicker yogurt, you can whisk the final product and strain it through cheesecloth. The whey can be used for baking, or you can even drink it straight!
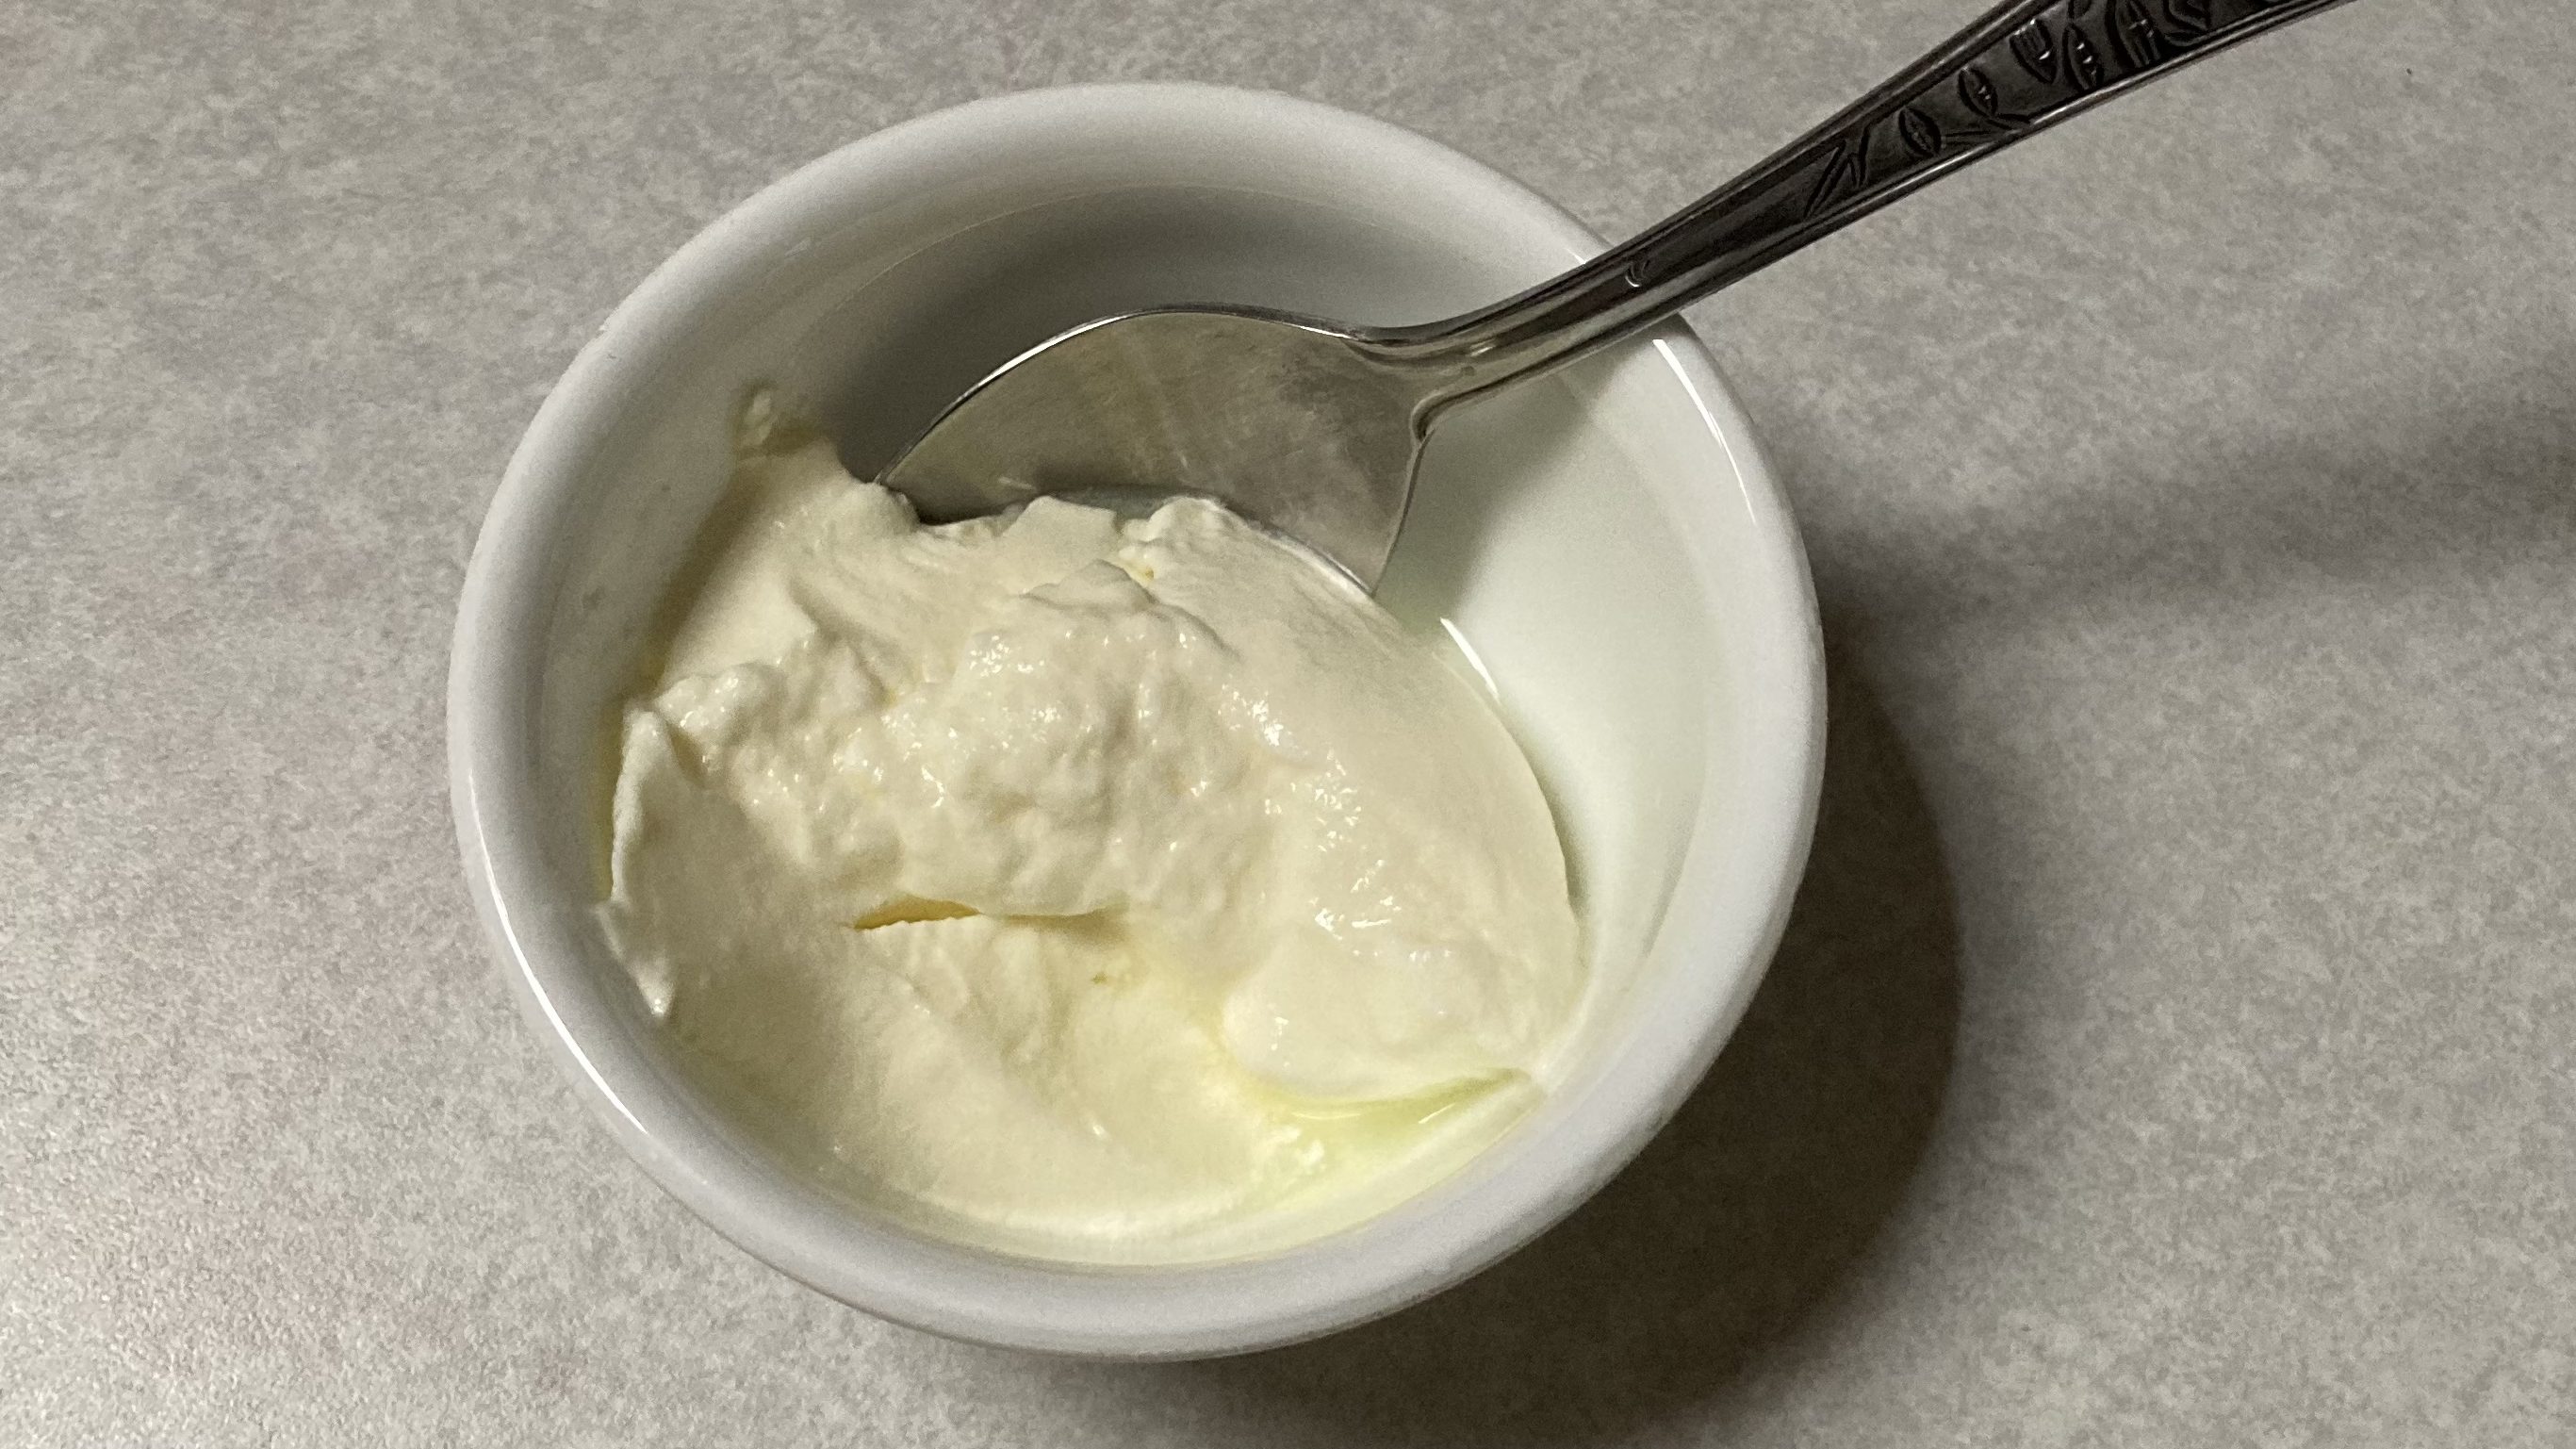
Sour Cream Uses
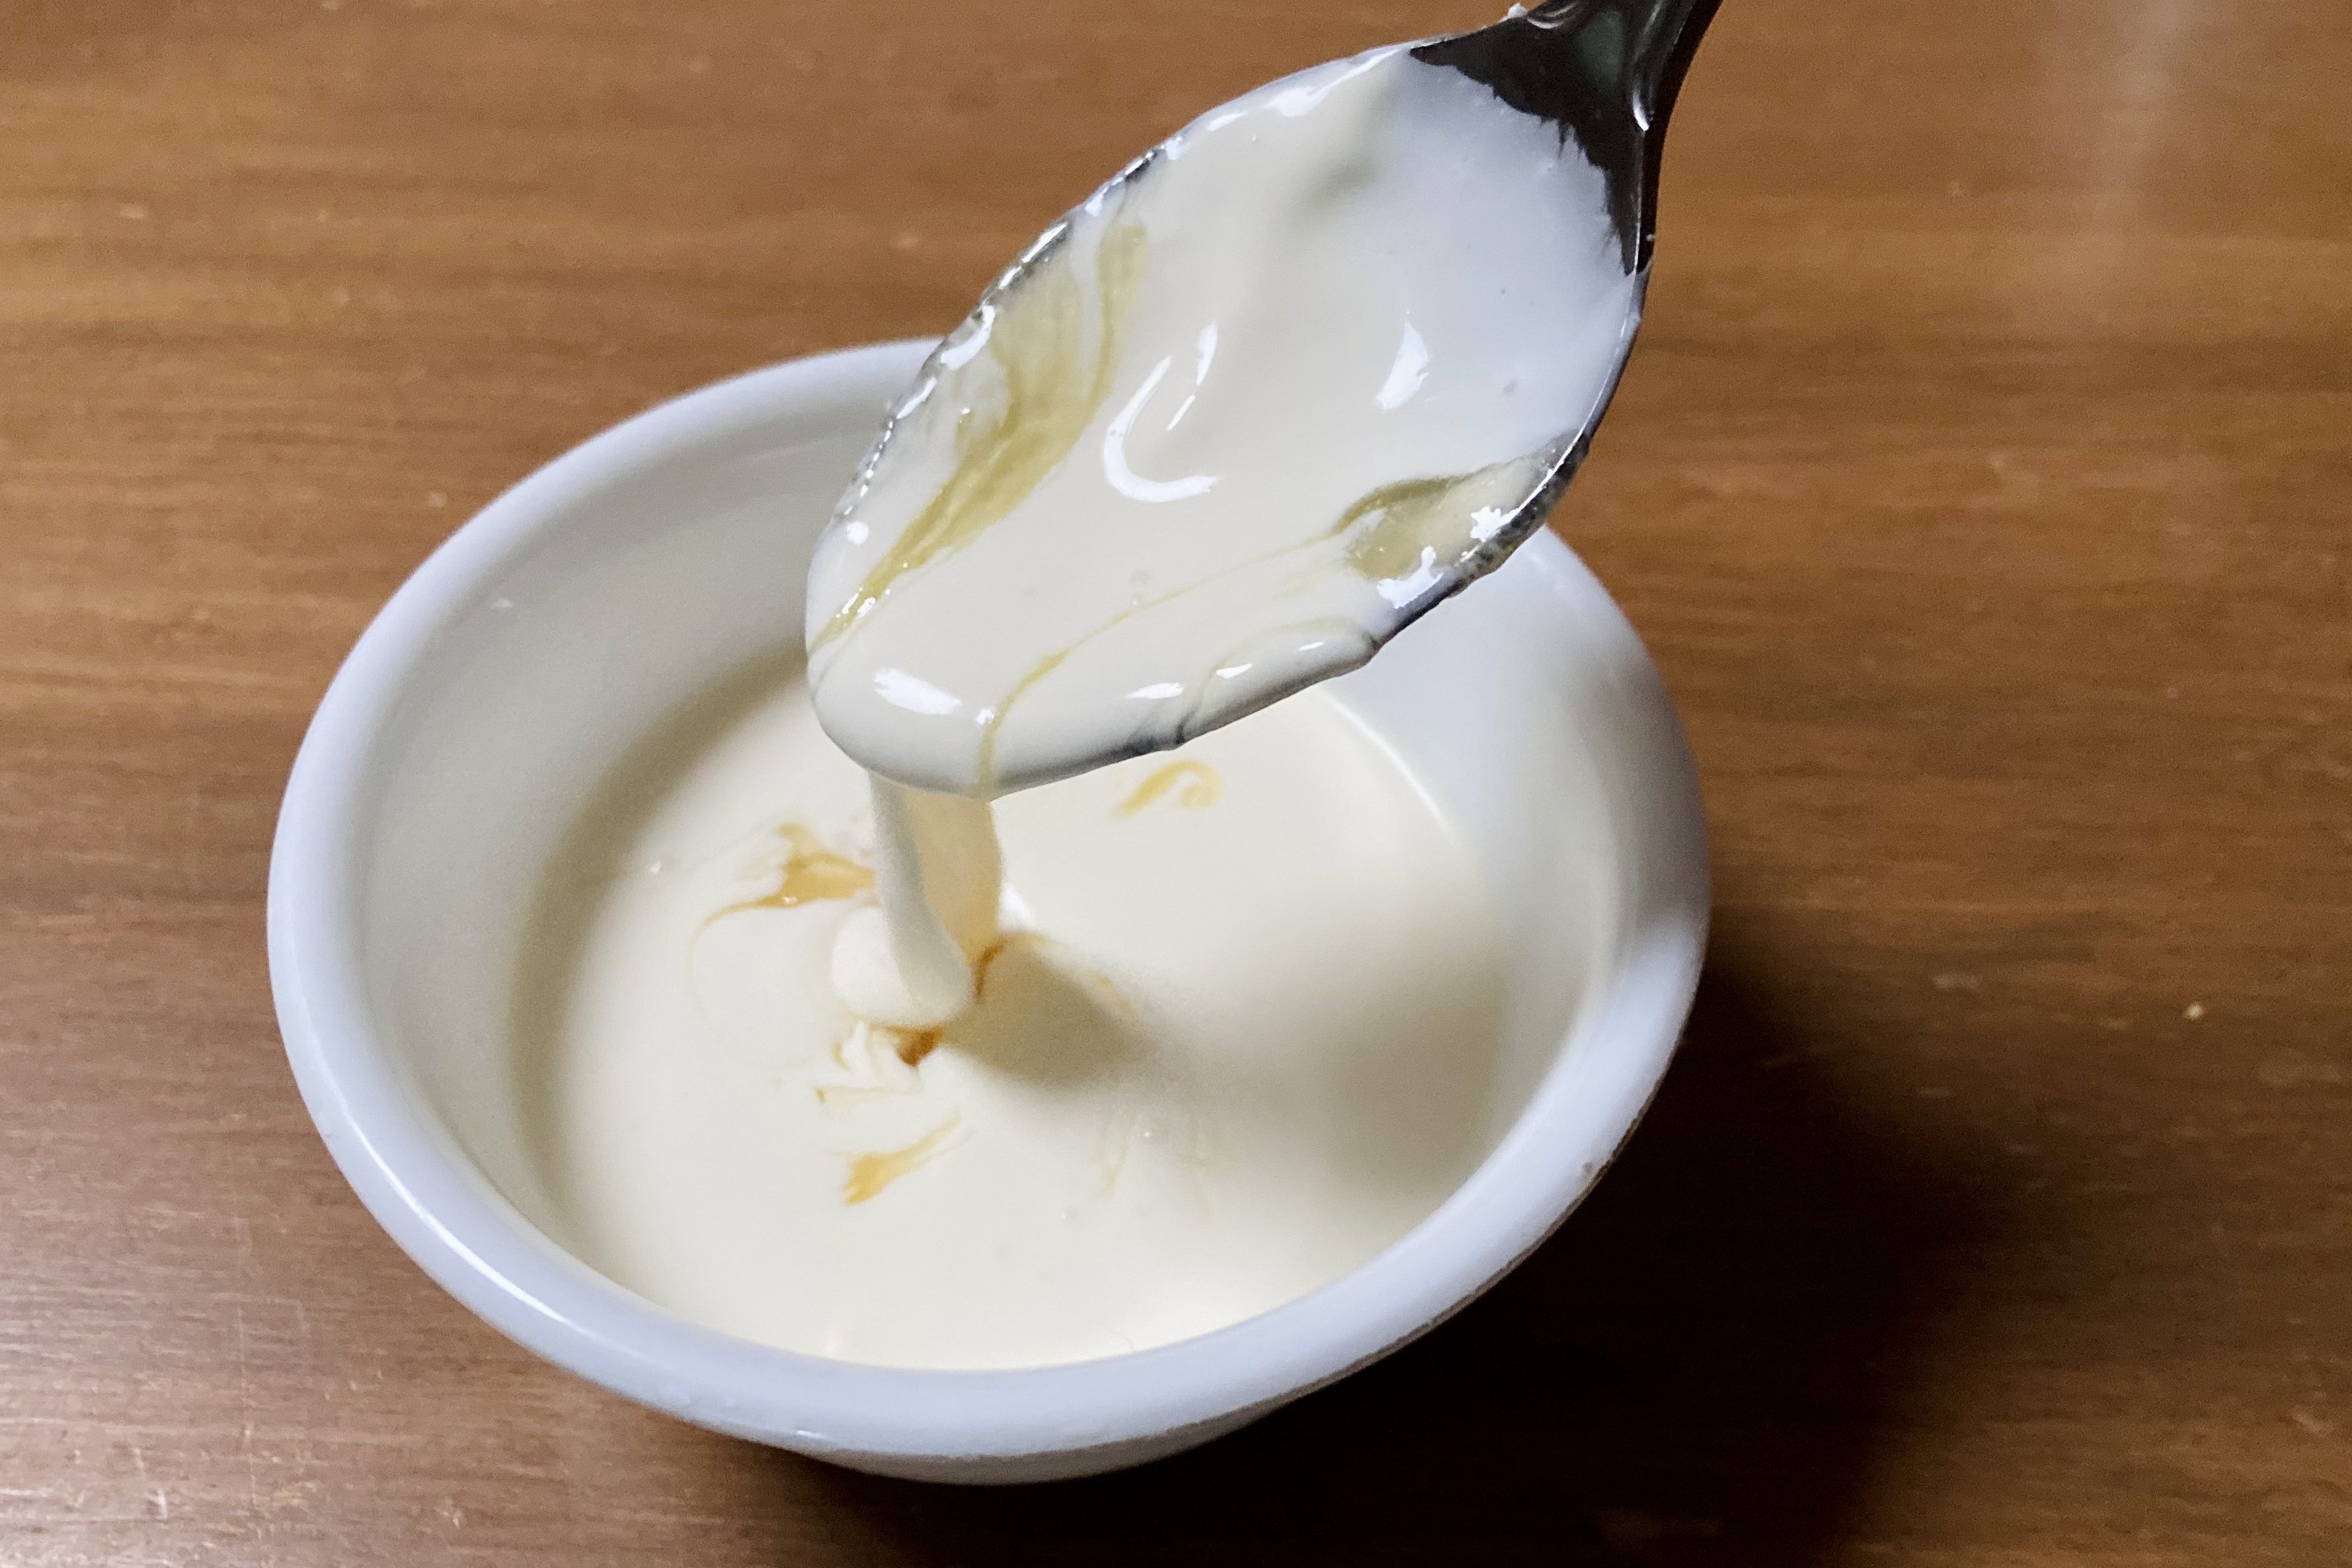
My favorite easy treat these days is a small bowl of homemade sour cream with a little bit of raw honey drizzled in. Simple, sweet, and nutritious!
For a little more complicated of a dessert, you can mix sour cream, honey, and a little vanilla and stick it in an ice cream maker to get a lovely ice cream texture! You could also blend the sour cream with berries or other fruit and make ice cream with that. So tasty!
I love a big dollop of sour cream in my soup (wait until it’s cooled off a bit to preserve the probiotics in the cream).
Sour cream can be used as a base for all kinds of creamy sauces as well. We’re going to try making a GAPS-approved Alfredo sauce to go with our chicken and spaghetti squash tomorrow!
And that’s the scoop on making your own sour cream! It’s super easy, it’s a great way to add healthy fats and more probiotics to your diet, and it’s just so unbelievably delicious.
Let me know in the comments if you decide to try making your own – and I’d love to hear your favorite uses for sour cream!
Subscribe to our monthly newsletter, The Compound Communiqué, for fun extra content that didn’t make the blog!
Check out our Instagram for daily snapshots of life on the homestead.
Follow us on YouTube for cool video content


Leave a comment